How to Use Our 3D Builder
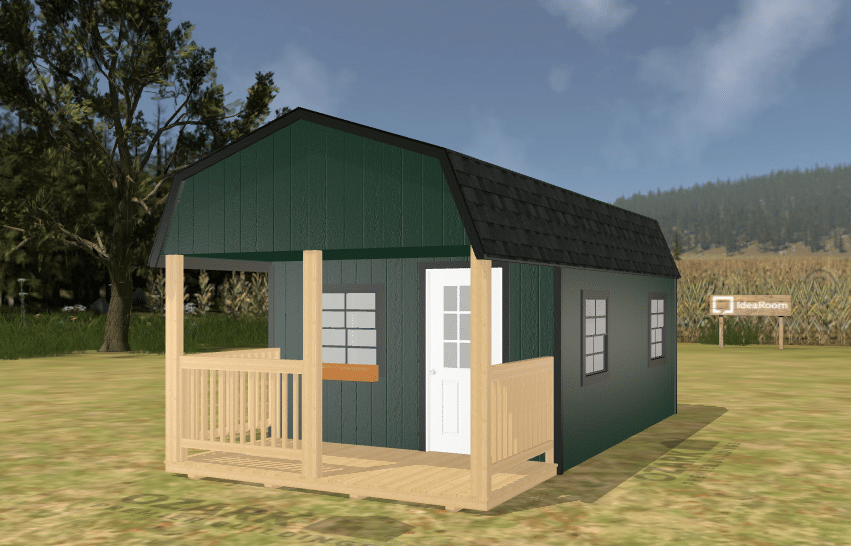
Our 3D builder can be extremely helpful to get a detailed picture of how you want your new shed, cabin, or garage to look and what options you might want. However, it doesn’t help at all if you don’t know how to use it! Whether you played around with building a 3D model of your structure already or want to know how everything works before starting, you’ll be a design pro by the end of this article!
Keep reading to get acquainted with our 3D building software and discover what it has to offer, and don’t miss out on the 10% discount when you put a down payment down on the structure you design.
Introduction to the 3D Builder
When you first click into the 3D builder, you’ll be asked for your delivery ZIP code in order to check if you live within delivery distance and to enable an accurate estimate of the total cost of your project. This will also enable the 10% discount on the down payment for the structure you build. Once you enter your ZIP code, you will see the main screen of the builder.
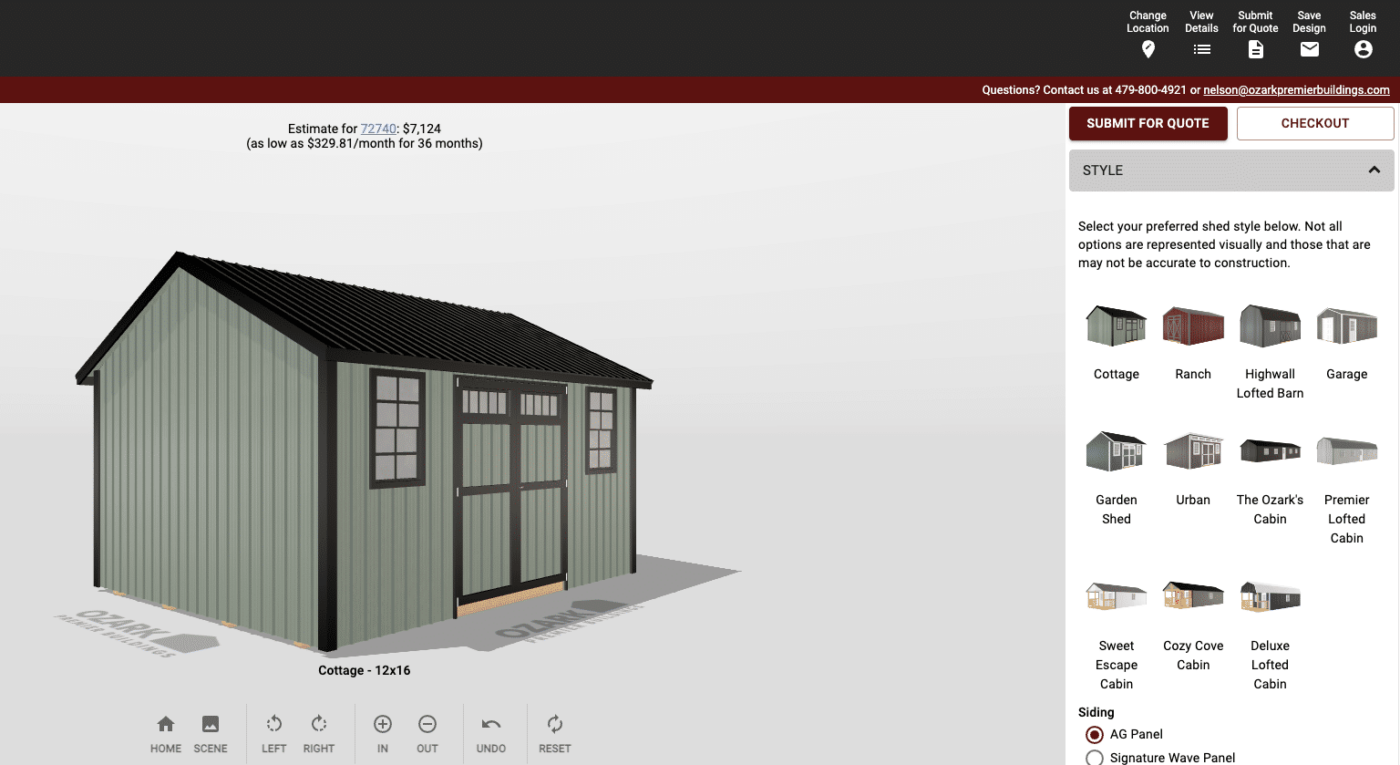
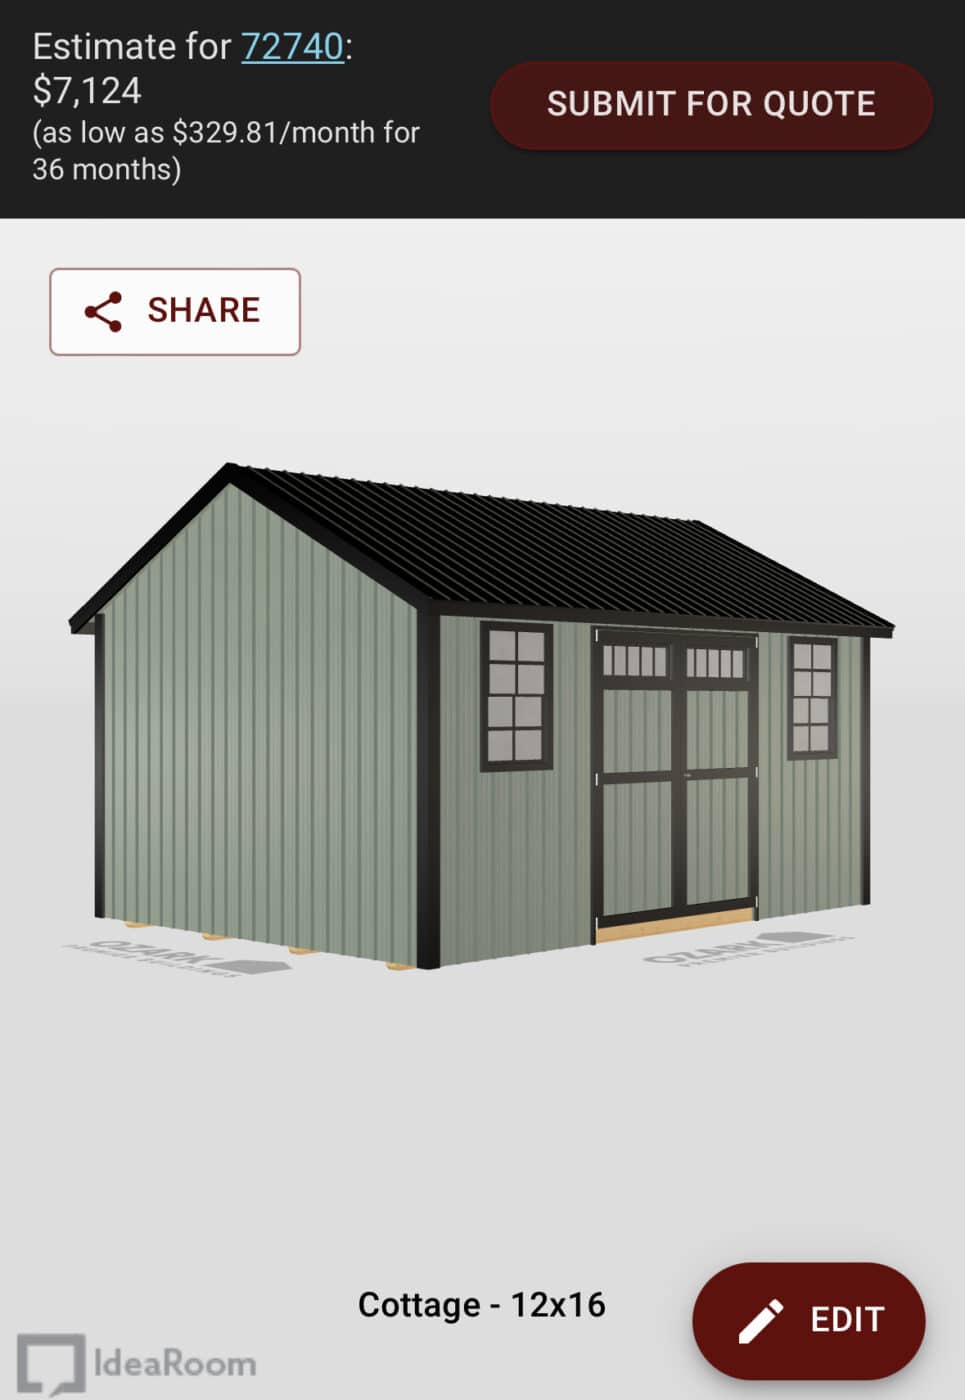
Before getting into all the menus and options, here are some helpful navigation tips to get you started.
- Holding down the left mouse button (or pressing with your finger on mobile) and dragging on the 3D display lets you rotate the view to see the structure from different angles.
- Holding down the right mouse button and dragging lets you move your view up and down or left and right (desktop only).
- Scrolling (or pinching with two fingers on mobile) lets you zoom in and out on the model – you can even zoom into the interior of the structure!
The 3D builder on desktop includes a menu underneath the model with some options. These are:
- Home – resets the view to how it appears at the start
- Scene – you can choose to load a 3D background of a backyard or a farm to give you a better idea of how your structure will look in an environment
- Left/Right – rotates your view 90 degrees to show each side of your structure
- In/Out – zooms your view in or out
- Undo – undoes your last selection
- Reset – resets all of your choices to the defaults for the selected structure type
Now that you’re familiar with how to navigate around the builder, let’s start walking through the process to design your perfect shed, cabin or garage!
How to Start Designing Your Structure
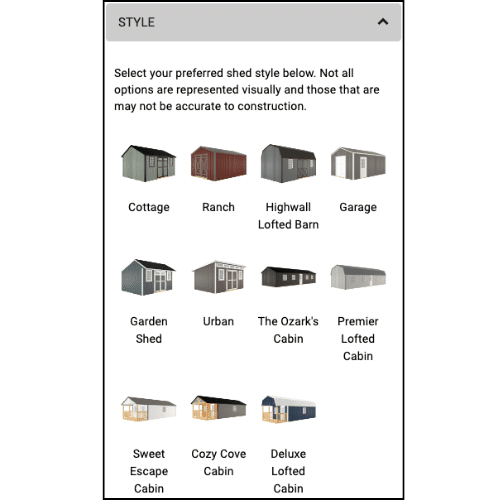
Step 1: Choose Your Structure Type and Style
First, select which type of structure you would like to build. You are able to choose between each style of shed, cabin, and garage that we offer. For more details on the styles for each type of structure, follow the links below.
- Sheds: Cottage shed, Ranch shed, Highwall Lofted Barn shed, Garden shed, Urban shed
- Cabins: Sweet Escape cabin, Ozark cabin, Deluxe Lofted cabin, Premier Lofted cabin, Cozy Cove cabin
- Garages: Portable Garage
Once you have chosen which structure and style you’d like, it’s time to pick your style’s features.
Step 2: Choose Style Features
Below the pictures of each structure, you will see a list of features with options to pick from. Here, you can choose different styles of siding, roofing, porch railing, and more depending on which style you chose. Explore which materials and styles you like best for your structure without worrying about the color for now, as you will get that later!
Step 3: Choose Size
Once you’ve selected your style and features, it’s time to pick a size. The style you chose will determine the range of sizes you can pick from, with the smallest size of any style being 8×8 and the largest being 16×52. Making a selection will change the scale of the 3D model so you can see the shape of your structure at each size.
Step 4: Choose Door, Window, and Exterior Options
In the Doors, Windows & Exterior Options tab, you can pick items to add to any of the walls of your structure as well as the roof (for some styles). To add an item, first select the wall (or side of the roof) of the model where you would like to place an item, and then click on that item in the menu. As you can see, you are able to select a window, transom, vent, multiple styles and sizes of doors, and potentially a dormer as well. If you want to add more than one of any item, simply click again to place another one.
Once placed, you are able to move any of these items around the selected side of your structure wherever they’ll fit. You can click and drag to move each item, or use the red arrows to move it left or right by just 1 inch. As you move the item, you will see relevant measurements appear in blue boxes around it, which are read like this:
- Top left & top right corners – distances to nearest item (or edge of the wall) in either direction
- Bottom left & bottom right corners – distances to edge of the wall in either direction
- Blue line under top left corner – height from the base of the structure
Clicking on a placed item or on the pencil icon brings up a list of styles, sizes, and add-ons for that item, allowing for even more customization options, as shown below.
This step may take the most time as you pick which exterior items you want, how many you want, and where they will go. Once placed, you can customize their styles, sizes, and details to get exactly what you want. After this step, it’s time to move onto one of the most fun parts of the entire process.
Step 5: Choose Your Colors
Now it’s time to choose the colors for your shed, cabin or garage. Depending on the material you chose for your roofing, siding and trim, you will have up to 30 different colors to choose from (and in some cases can provide a custom paint color if you have a specific one in mind). For wood siding and trim, you have the option to choose from the selection of paint colors or various stain colors as well. With all the different choices you have here, your color options are almost endless, so make sure you take enough time to explore and find the shades that are just right for your structure!
Step 6: Choose Interior Options
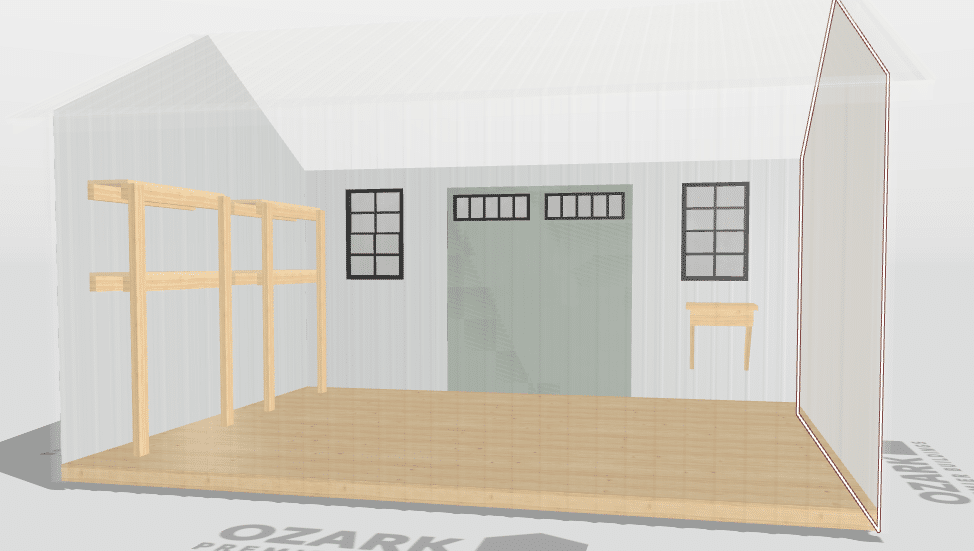
Once the exterior of your structure looks just the way you like, it’s time to move inside to choose your interior options. Your prebuilt structure can come with interior items like a workbench or shelving already installed, which you can arrange and customize in this step of the 3D builder. Additionally, you can make your choices for the type of interior surface as well as whether you want insulation or an electrical package included.
Step 7: Choose Your Flooring
The final step of the 3D building process is choosing your flooring and floor joists. Some structures may have just one flooring option and no floor joist options, while others may have multiple floor joist options to pick between. If you have multiple options to choose from and aren’t sure which would be best, don’t worry! Our knowledgeable staff will be able to answer any questions you have and walk you through all your options once you submit your design. If you need an answer sooner, don’t hesitate to give us a call or contact us online to get in touch.
Step 8: See Your Estimate, Submit Your Design, or Check Out
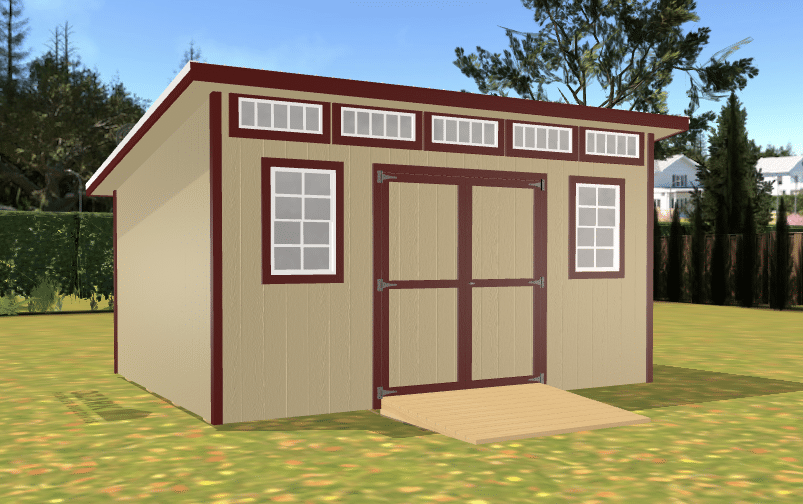
Just like that, you’ve designed your new shed, cabin or garage in no time!
Now that you’ve finished your 3D build, and assuming your delivery ZIP code isn’t too far away, you’ll see your project’s price estimate at the bottom of the menu. Expand the tab to see a preliminary total estimate, payment options, and cost breakdown. From there, you can submit your design for a final quote from our experts by clicking the button and filling out the form, or you can go directly to checkout and start placing your order. Don’t forget that you’ll get a 10% discount on your structure from the 3D builder if you put a down payment down!
How Was Your 3D Builder Experience?
Congratulations on designing your own structure! Here at Ozark Premier Structures, we’re always excited to see what our customers come up with in the builder, and we’re even more excited to work with them to turn their ideas into reality. Our 3D builder is just another example of our commitment to our main goal: providing the best quality buildings in the Ozarks in the most helpful, enjoyable way possible.
If you have any further questions about the 3D builder, your future shed, or anything else, contact us online or call us today to get them answered! And if you’ve read all this way and STILL haven’t used the 3D builder, what are you waiting for?! Design your very own structure now!
